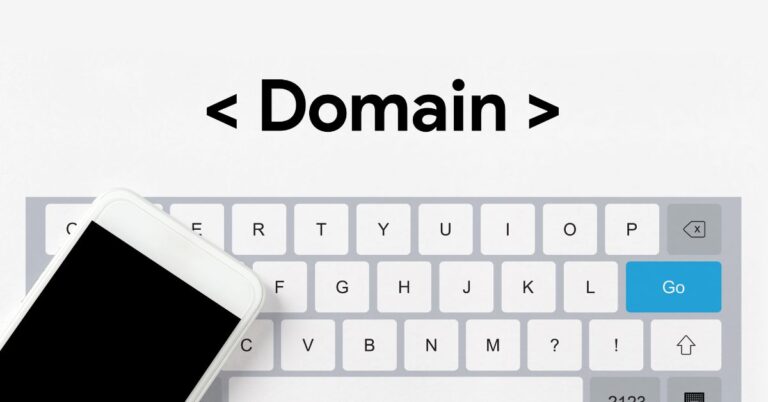
HTML Image Map Rollover Tutorial
If you’re looking for a new way to display your blog posts or website, this tutorial will show you how to create a rollover image map! By using an image map, your reader can see additional content when they hover their mouse cursor over a certain area of the image. The technique is also great because it’s reusable!
Tutorial for making an image map
HTML Image Map Rollover Tutorial
Making an image map can be a daunting task, but with the right tools and some simple instructions, it’s a breeze. In this tutorial, we’ll show you how to create a rollover image map using HTML and CSS.
To get started, we’ll need to create our map layout. To do this, we’ll use an existing HTML document as our base. We’ll then add some basic elements to define our map boundaries and style them accordingly.
Once we have our layout ready, it’s time to add the images that will make up our map. We’ll start by creating a few images that will act as the backdrop for our map. We’ll then use CSS to position these images on our layout and give them the appropriate dimensions. Finally, we’ll add a simple CSS script to enable rollover animation on our images.
Now that we have everything set up, it’s time to start coding! In the code block below, we first define all of the necessary elements for our image map. We include the name of our document (in this case blog- map.html) and then add the CSS classes needed to position our images. Next, we define one image that will act as the background for our map.
In this instance, I’m choosing a transparent image of a reasonably sized city skyline. The combination of a large background image with a white text label makes it easy to read. Note that in this example, I’m adding my images using img tags rather than tags. This is because the tag doesn’t have layout support whereas img tags do.
If you’re using an older browser (e.g IE6), you’ll need to use it instead as they don’t currently support img tags in IE6 or earlier.— One of the most labor-intensive tasks when designing a map is to create the roads and labels. The previous section described how to create road images, which are used later as data points on our maps. As well as the images, we must also define what each highway or street name means.
You’ll find that different datasets use different naming conventions for their roads and street names.— Given that we’re collecting data about nearby business locations, a crucial part of the design is using meaningful names for the location types. For example, instead of calling all retailers ‘supermarket’, you might choose to call them ‘general store’ or ‘chain store’ depending on their specific layout and location.
What is a Namemap?
A namemap is a simple object that allows you to map URLs to images. When someone clicks on a URL in your blog post, the browser will automatically load the corresponding image. This is great for adding visual interest to your blog posts, and it’s also a great way to promote your website or blog.
Adding Images
In this tutorial, we will show you how to create a simple HTML image map. This type of map displays images as clickable links, and can be used to display information about different locations on your website.
Adding Text to Images
Adding text to images with HTML and CSS is a great way to add extra information or to change the look of your images. In this tutorial, we’ll show you how to rollover text with an image map.
Text in Web Forms and EasyForms.
HTML forms are great for collecting information, but they lack a mechanism to display the collected data. HTML forms don’t include a way to show what the user has entered, nor do they give feedback on submission.
In this tutorial, you’ll learn how to use JavaScript to create an interactive form that shows what the user has typed into the fields before submitting. You’ll also learn how to show model validation errors by using an image map or flashing text.
Conclusion
If you’re looking to create a beautiful, interactive website that functions as both an informational and entertaining piece of content, consider using an HTML image map. In this tutorial, we’ll walk you through the basics of how to create one, and show you some different techniques for adding interactivity and depth to your map design. So whether you’re a beginner or an experienced web designer, make sure to check out this tutorial on how to create an HTML image map!