Photoshop Tutorials : Creating Water from a Tap
Photoshop is a powerful tool that can be used to create amazing and realistic effects. In this tutorial, you will learn how to add water from a tap and make it look very realistic!
Introduction
If you’re like most people, you probably think of water as a precious commodity. Sure, you can drink it straight from the tap, but that’s not always the best option. In this Photoshop tutorial, we’ll show you how to create water from a tap using Photoshop.
What You’ll Need
-Photoshop CS6 or higher
-Tapping tool (available in the Photoshop toolbar)
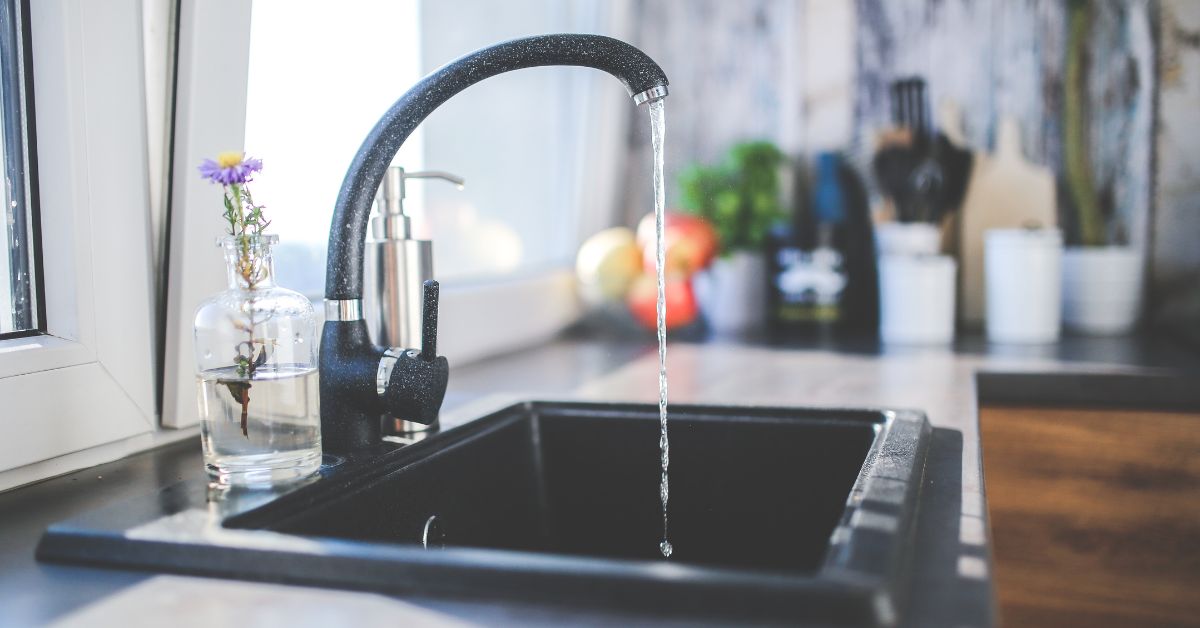
-Tap the water image to import it into Photoshop
-Create a new layer and fill it with white
-Create a new layer and fill it with black
-Select the tap water layer and use the dodge tool to lighten it up a bit
-Select the black layer and use the dodge tool to darken it up a bit
Sketching an Image
If you want to create a water effect from a tap in Photoshop, follow these simple steps:
- Start by sketching out the basic shape of the water with some simple lines. Don’t worry too much about precision at this stage – you can refine the details later on.
- Next, use the Burn Tool to darken parts of the sketch and create a sense of depth. Be sure to experiment with different values and techniques to get the look you’re after.
- To add some extra realism, use the Sponge Tool to soften the edges of the water and give it a slightly wet feel.
- To finish off, add some lightening and shadows to finish off the effect and create a realistic finish. This is just a simple effect that will add some depth to your image. Try experimenting with the different settings, or you can also combine it with other Photoshop techniques like the Drop Shadow Effect.
Adding Texture to the Water
Adding texture to water can be a tricky task, but with the right tools and techniques, it can be easy to achieve. In this Photoshop tutorial, we’ll show you how to create a realistic water droplet effect using filters and textures.
Creating a Transparent Texture in Photoshop. If you have a background that has a transparent area, creating an effect similar to the built-in Brush tool can create a realistic look of light passing through the pixels. In this Photoshop tutorial, we’ll show you how to use transparency to create a photo effect.
Refining the Water
In this Photoshop tutorial, we’ll learn how to create a realistic-looking water effect from a tap. By using a few simple techniques, you can create a convincing water effect that can be used in any project.
First, we’ll need to create some basic layers.
On the first layer, we’ll add a grey gradient to create the background.
Next, we’ll add some simple waves to the water by selecting the Rectangular Marquee Tool and drawing a border around the edge of the gradient.
Finally, we’ll add some drops of water using the Ink Bottle Tool.